
Video Modeling for RBTs: Teaching Daily Skills
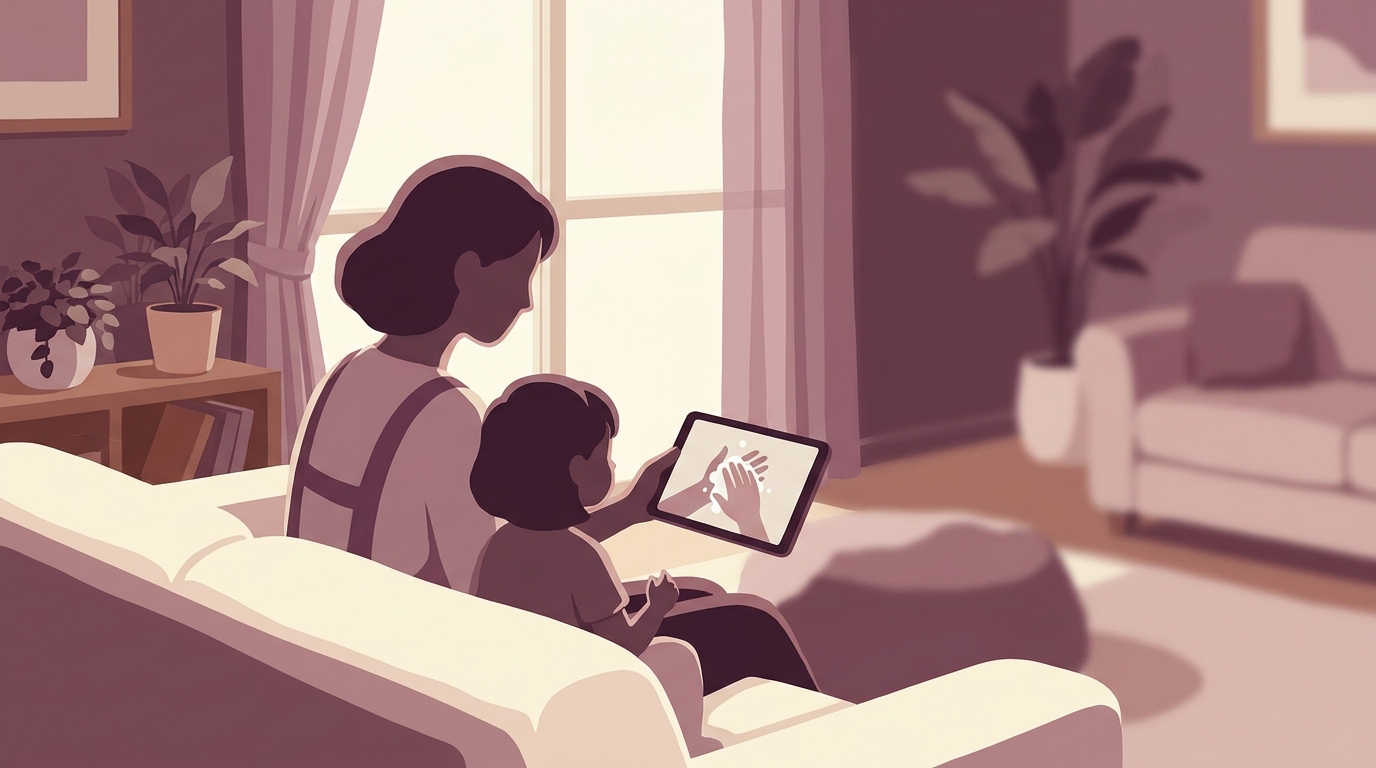
Start Here: 2-Minute Quick Guide
If you only try one thing this week, start with this:
- Pick 1 daily living skill your client can do with prompts but not independently (handwashing, putting on shoes, packing a bag).
- Use your phone to film yourself or a peer doing that skill from start to finish, 30 to 60 seconds.
- Show the video to your client before the next session where you work on that skill.
- Immediately after the video ends, give them the materials and prompt only what they miss.
- Track how many steps they complete independently compared to baseline.
This is the foundation of video modeling. One skill, one video, immediate practice.
When you work with 5 to 12 year olds on communication and daily living skills, you likely see this pattern: the child can complete the skill when you prompt each step, but when you fade your prompts or try the skill in a new setting, performance drops. Video modeling is a strategy that provides a consistent visual model of the target behavior, allows the child to watch it as many times as needed, and reduces the variability that comes with live adult prompting. Research shows it is effective for teaching a wide range of skills to children with autism, ADHD, Down syndrome, and other developmental disabilities.
Video modeling works because it leverages observational learning. The child watches a model (you, a peer, or even themselves) perform the entire behavior correctly, then immediately practices it. Unlike live modeling, video is repeatable, portable, and can be paused or replayed. It also removes some of the social demand of an adult standing over the child during instruction, which for some learners reduces anxiety and increases attention to the task itself.
There are several types of video modeling strategies, and the type you choose depends on the skill you are teaching and the prerequisite skills your client has. Basic video modeling shows someone else doing the skill. Point-of-view video modeling shows the skill from the learner's perspective (you see only hands and materials, as if you are doing it yourself). Video prompting breaks the skill into short clips with pauses between each step. All 3 strategies are evidence-based, and all require the same foundation: the child must be able to attend to a video for the required duration and imitate what they see.
Practical Strategies You Can Use
1. Use basic video modeling for multi-step routines the child can already do with prompts.
Basic video modeling shows the entire skill performed by you, a peer, or a family member. Film the routine from start to finish in 1 uninterrupted clip (30 seconds to 2 minutes depending on the skill). Show the video to the child, then immediately give them the materials and the opportunity to practice. This works well for routines like washing hands, setting the table, or packing a school bag, skills where the child already has all the component behaviors but needs help chaining them together independently. Use your phone or tablet to film. Make sure lighting is good and the model is clearly visible. Keep the video short enough that the child can attend to the entire thing without losing focus.
2. Try point-of-view modeling when the child struggles to map what they see onto their own actions.
Point-of-view video modeling is filmed from the learner's perspective. The camera is positioned as if it is the child's eyes, so they see only the hands and materials, not the whole person. This helps children who have difficulty translating a third-person model into their own motor movements. Film yourself doing the task (tying shoes, using utensils, writing) with the camera where the child's head would be. The child watches and sees exactly what their hands should be doing. This is especially helpful for fine motor tasks and for children who are strong visual learners but struggle with imitation of a model facing them.
3. Switch to video prompting when the child needs support on specific steps within the chain.
Video prompting breaks the skill into short clips, 1 clip per step. The child watches step 1, pauses, completes step 1, then watches step 2, pauses, completes step 2, and so on until the whole task is done. This is useful when the child can do some steps independently but gets stuck on others, or when the skill is long and watching the whole thing is too much. You can create video prompts by filming each step separately or by using apps that let you divide 1 long video into segments with built-in pauses. Video prompting requires the child to wait for the next clip, so you may need to teach them to press play or wait for your cue between steps at first.
4. Assess prerequisites before you start and prepare your materials in advance.
Before you introduce video modeling, check that the child can attend to a screen for the video length you plan to use and can imitate actions they see. If they cannot, you may need to pair video modeling with additional prompts (physical, gestural) until those skills strengthen. Write a task analysis of the skill before you film so you know exactly what steps to include and in what order. Gather all materials ahead of time. Test your video once before using it in session to make sure the lighting, angle, and sound are clear. Poor video quality or missing steps will reduce effectiveness and frustrate both you and the child.
What to Do This Week
Day 1: Choose 1 daily living skill your client does with prompts but not independently (handwashing, putting on a jacket, clearing a plate).
Day 2: Write a task analysis with 4 to 6 steps. Gather the materials. Film yourself or a peer doing the skill from start to finish in 1 short video.
Day 3: Show the video to your client before the activity. Immediately after it ends, give them the materials and track how many steps they complete without prompts.
Day 4: Repeat the video and practice sequence. Provide prompts only on steps they miss. Reinforce completion of each step.
Day 5: Fade the video by showing it every other trial or only at the start of the session. Continue tracking independent steps and compare to your baseline data from Day 3.
If you want structured training on video modeling techniques with examples you can watch and apply immediately, the All Access gives you access to the full video course catalog, including detailed webinars on video modeling, video prompting, and other visual supports. Each course comes with downloadable PowerPoints and action tools like checklists and worksheets you can use in session. It is $299 for 12 months, and you can cancel anytime.
If you are working toward your RBT credential or need to renew, the RBT 2.0 Online Training Course covers the 40-hour training requirement and includes video modeling as part of the instructional strategies module.
Looking for a guide built for your specific situation?
Our 2-minute survey gives you a free personalized guide grounded in Special Learning's clinical library.
Take the 2-Minute SurveyPrefer this guide in another language?
This guide is available in English only right now. Tell us which language you need and we will record your request.